
TL;DR
Austin decks pass or fail inspection at the guards and stairs. Know these basics according to building codes : guard height typically ≥36 in. on most residential decks; baluster/rail infill must block a 4-in. sphere; stairs need consistent rise/run (no trip steps), graspable handrails, and safe landings; guards and handrails must resist concentrated and uniform loads without wobble. The biggest fails: loose post connections, improper blocking, handrails that aren’t graspable, and irregular stair geometry. Plan these details at design time, not the day before inspection. For a benchmark of process and craftsmanship local to Central Texas, review the standards from Ace Deck Builders.
Why Guards and Stairs Fail in Austin (and How to Avoid It)
If inspectors are going to red-tag something, it’s usually the guardrail (the barrier around the deck) or the stairs. Why?
- Hidden structure: Finish materials can look great while post connections, blocking, or fasteners are undersized or misplaced.
- Heat and movement: Austin’s sun, afternoon micro-storms, and clay soils challenge connections. A guard that felt “fine” at install can loosen after a season if it wasn’t detailed correctly.
- Inconsistent geometry: A single “trip step” (off by even ⅜ in.) can fail inspection and, more importantly, cause injuries.
- Graspability confusion: A nice-looking top rail doesn’t mean it’s a handrail you can grip. The handrail must have a specific shape/size and terminate cleanly.
Passing inspectors isn’t about memorizing every sub-clause—it’s about designing to clear principles and building with inspection hold points so critical connections are visible before they’re covered.
Heights, Spacing, and Load Basics (Plain English)
These are the core concepts your plan should satisfy. (Local regulations and amendments may vary; your builder should verify the specific year/code cycle in effect for your permit.)
Guard height
- Most residential decks require a guard when the walking surface is ≥30 in. above grade at any point within 36 in. horizontally.
- Guard top height commonly ≥36 in. measured vertically from the deck surface to the top of the guard (check your local amendment if any).
Infill/spacing
- Openings in the guard (balusters, cable, etc.) must resist the passage of a 4-in. sphere. At stair risers, look for 4⅜-in. And 6-in. rules depending on location—your builder should model this in drawings.
- For cable rails, post spacing, intermediate pickets, and cable tension, the “sphere” test must be maintained under load. Don’t assume: design for deflection control.
Loads (what the guard must withstand)
- Uniform load along the top of the guard (e.g., 50 plf) and concentrated load at any point (e.g., 200 lb) are typical residential references. Translation: the top rail shouldn’t feel spongy if someone leans hard.
- Infill load: The pickets/panels must resist a push without popping out or deforming past the sphere limits.
If your plan doesn’t speak to how the guard meets these loads (through post blocking, fasteners, and hardware), it’s not ready.
Handrails: Graspability, Returns, and Height Targets
Handrails are not just the top of your guard. On stairs, you need a graspable handrail or stair railings —something you can wrap a hand around.
- Profile: A round or Type I/II graspable profile per code cycle. The idea: fingers can fully wrap. Wide, flat 5/4 caps usually don’t qualify.
- Height: Generally 34–38 in. above stair nosings (measured vertically), maintained consistently along the whole run.
- Continuity: The handrail should be continuous from above the top riser to above the bottom riser and return to a wall or end in a safety return so clothing/bags can’t catch.
- Clearance: Maintain about 1½ in. clearance between the handrail and the adjacent surface for fingers.
- Fastening: Use brackets or direct-mount per the listing; don’t rely on trim screws into soft material.
A beautiful, code-clean handrail feels natural to hold, doesn’t “wander” up or down the run, and finishes safely at each end.
Stair Geometry: Rise, Run, Landings, and Lighting
Stairs pass or fail on consistency and clearances to prevent falling .
- Consistent rise and run: Keep risers and treads uniform. A common rule is that the largest riser minus the smallest riser ≤⅜ in. over a flight; the largest tread minus the smallest tread ≤⅜ in. too.
- Rise & run targets: Many Austin builds aim for a 7–7½ in. rise and a 10–11 in. run for comfort (verify current code).
- Nosing: Where required, use a ¾–1¼ in. nosing projection for safe foot placement unless tread depth eliminates the need.
- Landings: Provide a landing at the bottom and at doors; landings should be level, with adequate depth and width (often at least 36 in. in the direction of travel).
- Headroom: Maintain sufficient headroom above the stair path so tall guests don’t stoop.
- Lighting: Stair illumination improves safety and is often expected—riser LEDs or side lighting with low glare are practical in Austin evenings.
If you’re converting an older deck, stair corrections can cascade; it’s common to re-site the lower landing and consolidate multiple small runs into a single good run.
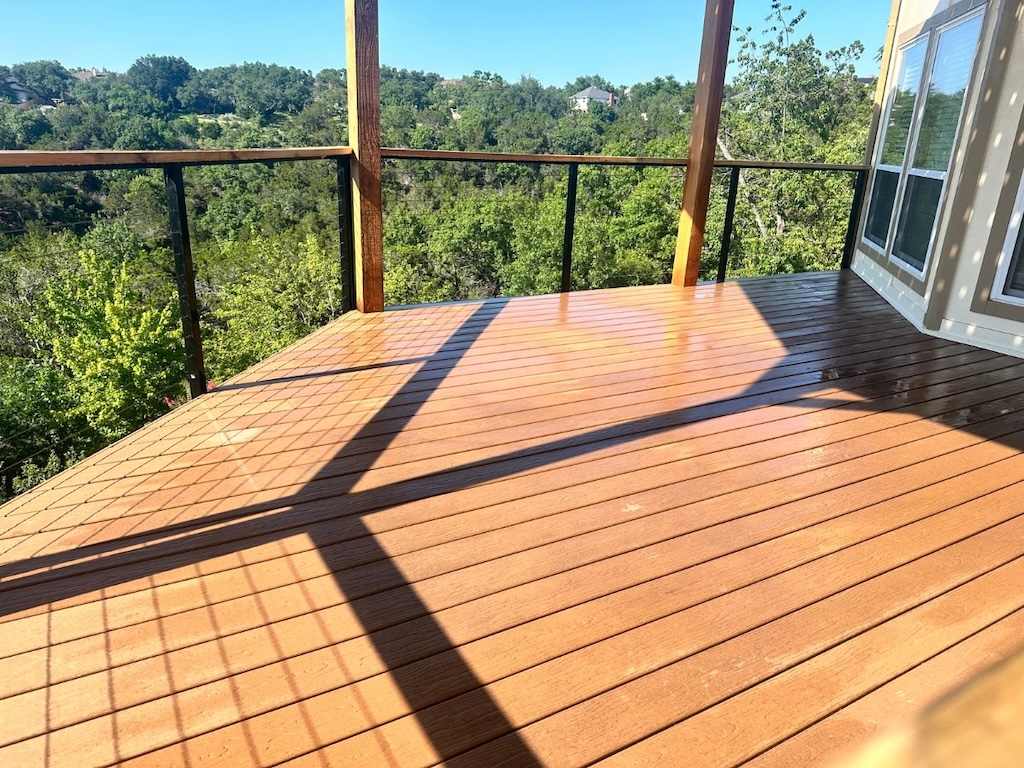
Guard Systems: Posts, Infill, and the “Wobble Test”
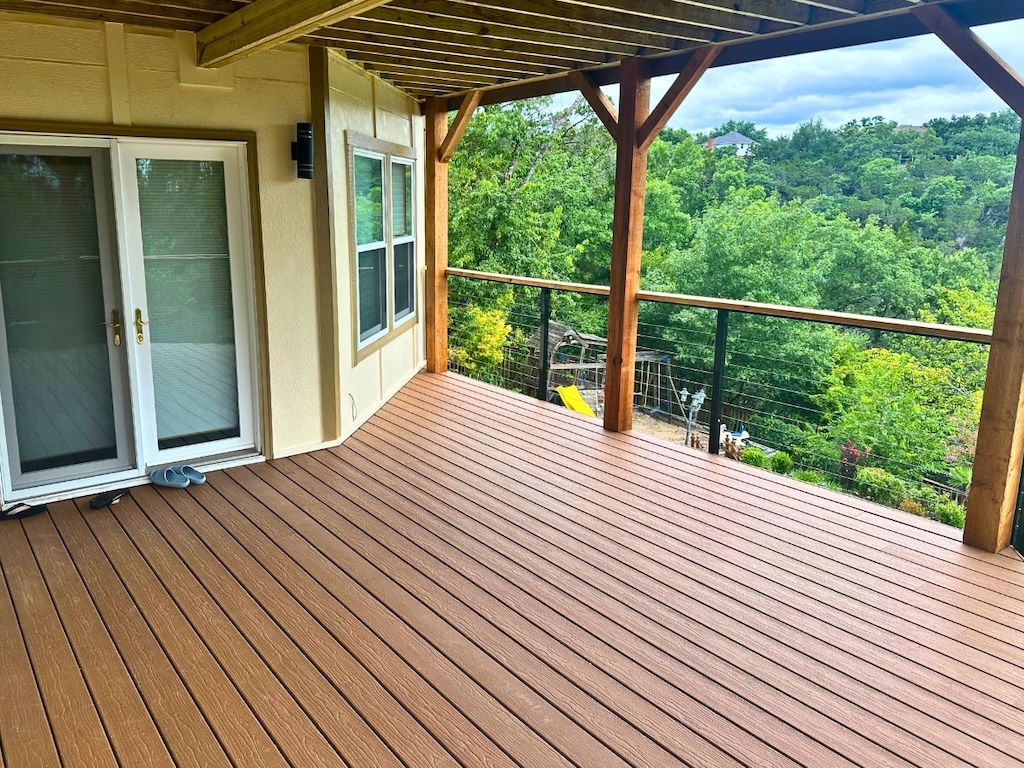
Guards succeed or fail at the post connection. Pretty panels won’t save wobbly posts.
- Post layout: Corner posts, intermediate posts at planned intervals, and special attention at stair posts (forces are higher).
- Blocking: Guard posts need solid blocking at the rim/beam—not just screws into deck boards. Use through-bolts or listed tension devices per detail.
- Top/bottom rails: Verify spans to prevent sagging; use manufacturer-approved connectors.
- Infill choices: Pickets (most budget-friendly), cable (open/breezy, higher labor), glass (stunning but heavy/cleaning-intensive). Whichever you choose, confirm deflection under load.
- Wobble test: Press hard at post height. A safeguard may flex slightly but springs back with authority. If it “peels” at the rim or rebounds slowly, the connection detail is wrong.
Design guards to survive real use: kids climbing, guests leaning, and Texas wind.
Connections That Matter: Blocking, Fasteners, and Hardware
Structure hides under finishes. Insist on drawings (or a detail sheet) that call out:
- Rim-to-post reinforcement: Through-bolts, hold-downs, or tension ties that resist outward peel.
- Joist blocking at posts: Full-depth, tight-fit blocks with shear transfer (not toenails in air).
- Stair stringer landings: Stringers bearing properly with flush-mount or notched details per engineering; don’t hang stringers from thin material.
- Corrosion class: Hot-dipped galvanized as a baseline; stainless near pools or heavy irrigation. Avoid mixed metals.
- Handrail brackets: Listed hardware, fastened into structure—not just trim.
If a bid doesn’t include connection details, add them before work starts. It saves change orders and failed inspections.
Materials, Heat, and Maintenance (What Austin Changes)
Austin’s climate tweaks comfort and longevity:
- Color & heat: Dark caps and rail tops get hot. Choose light-tone caps where hands rest.
- UV & finishes: If you want wood rails or caps, plan a 12–24 month finish cycle. Composite/PVC rails reduce routine maintenance but still require the correct fasteners.
- Cable rail tension: Heat cycles loosen cables; plan a quick seasonal tension check.
- Glass rails: Gorgeous, but consider glare and cleaning in pollen season; partial use (just the view edge) balances looks and workload.
Design Patterns That Pass (and Feel Great to Use)
Pattern A: View-Side Cable, Pickets Elsewhere
Keep the breeze and views where it matters; save budget with pickets on the hidden sides. Use a light-tone cap to avoid hot hands and specify proper intermediate supports to control cable deflection.
Pattern B: One Good Stair with a Real Landing
Consolidate scattered steps into a single, well-sized run. Add a graspable handrail on both sides if the width and use warrant it. This pattern passes inspections more easily and feels safer at night.
Pattern C: Low-Profile Post Grid with Strong Blocking
Set post spacing to meet infill and load requirements, then overbuild the blocking. It’s invisible when done, but everything feels solid for years.
If you’re building from scratch or re-framing a replacement, it helps to understand how these choices are sequenced and checked on site. A clean, inspection-ready sequence is laid out in many professional scopes for deck installation in Austin—use those expectations to inform your bid review.
Suppose you’re unsure whether your existing stair geometry or guard connections are even salvageable. In that case, it’s smart to start with a documented deck inspection in Austin—photos, measurements, and a prioritized list help you make decisions faster and more cheaply.
And before you sign a contract, skim a quick homeowner primer on deck installation mistakes to recognize red flags—especially around handrail profiles, post blocking, and stair landings.
Common Fail Points at Inspection (With Fixes)

- Irregular risers
- Symptom: One step is taller/shorter; people stumble.
- Fix: Re-cut stringers or adjust landing elevation to bring variance within tolerance; confirm nosing uniformity.
- Non-graspable “handrail”
- Symptom: A wide, flat cap is posing as a handrail.
- Fix: Add a listed graspable profile at the correct height with proper returns.
- Wobbly guard posts
- Symptom: Posts flex or “peel” at the rim under load.
- Fix: Add through-bolts and tension hardware; install full-depth blocking; verify fastener schedule.
- Cable deflection
- Symptom: A 4-in. sphere could pass when you push on the cable.
- Fix: Shorten spans, add intermediate supports, and increase tension within manufacturer limits.
- Missing returns on handrails
- Symptom: Clothes or bags snag at rail ends.
- Fix: Terminate rails into a wall/post or use a closed return.
- Landing or headroom miss
- Symptom: Bottom stair dumps onto turf, or someone ducks under a soffit.
- Fix: Add a hard, level landing; adjust stair location; trim or modify overhead obstructions per code.
- Wrong fasteners/hardware
- Symptom: Mixed metals, interior screws outdoors, or non-listed brackets.
- Fix: Replace with exterior-rated and listed components; standardize finish/coating class.
FAQs
Get a Guard & Stair Plan That Passes (Free Estimate)
Want guards that feel rock-solid, stairs that feel natural underfoot, and a plan that passes inspection the first time? Start with a free deck estimate in Austin, and we’ll map heights, spacing, loads, handrail profiles, and connection details for compliance —then deliver an itemized, inspection-ready scope you can trust.