
TL;DR
Austin decks fail early when the wrong metals are exposed to heat, UV, and sudden downpours. Choose corrosion‑resistant fasteners (hot‑dip galvanized or stainless—304 inland, 316 near pools/splash) matched to your lumber chemistry; use structural screws instead of lag bolts where possible; and detail high‑temp butyl flashings with real terminations (end dams, counter‑flashing, drip edges). Keep dissimilar metals apart, seal penetrations, and leave inspection access. Do this and your connections stay tight, your ledgers stay dry, and your deck passes inspections long after storm season.
Austin climate stressors on decks: heat, UV, and storm bursts
Central Texas swings from summer triple‑digits to sudden thunderstorms with wind gusts. UV bakes caps and sealants; heat drives expansion; storm bursts test uplift and water management. If you’re unsure how your site’s exposure will treat hardware, our Austin deck specialists can walk through the project and spec metals and membranes to match.
Fastener metals & coatings: what actually lasts here
- Hot‑dip galvanized (HDG): Reliable with pressure‑treated lumber when the zinc layer is true HDG (thick, per ASTM). Great value for joist hangers, hurricane ties, and a variety of screws/bolts. Avoid thin electro‑galv.
- Stainless steel:
- 304/305: Good general use inland; excellent for composite face screws and hidden‑fastener clips.
- 316: Best near pools, water features, or coastal chemical exposure; resists chloride attack and tanning chemicals.
- 304/305: Good general use inland; excellent for composite face screws and hidden‑fastener clips.
- Polymer‑coated structural screws: Purpose‑made coatings over carbon steel can perform well when paired with compatible hardware—use manufacturer systems.
- Hardware match: Use hangers, brackets, and fasteners from the same corrosion family. Don’t mix stainless screws in galvanized hangers unless the hanger is rated for it.
- ACQ/CA pressure‑treat compatibility: Confirm hardware is rated for modern preservatives; use manufacturer charts.
Heads‑up on composites/PVC: Many brands prefer hidden-clip systems (often a stainless clip + a coated screw). Follow spacing guidance—diagonals frequently require 12″ OC framing.
Structural connections: ledgers, beams, and uplift hardware
- Ledgers: Through‑bolts or structural screws (ICC‑rated) into solid framing; no lag into brick veneer. Stagger patterns, maintain edge distances, and back them with continuous ledger flashing.
- Beams & posts: Use post caps and bases with uplift ratings; avoid notching posts beyond allowances—Sister or block to support hanger loads at transitions.
- Uplift/wind: Add hurricane ties, hold‑downs, and diagonal bracing where spans open to wind. Tall tiers need anti‑racking hardware.
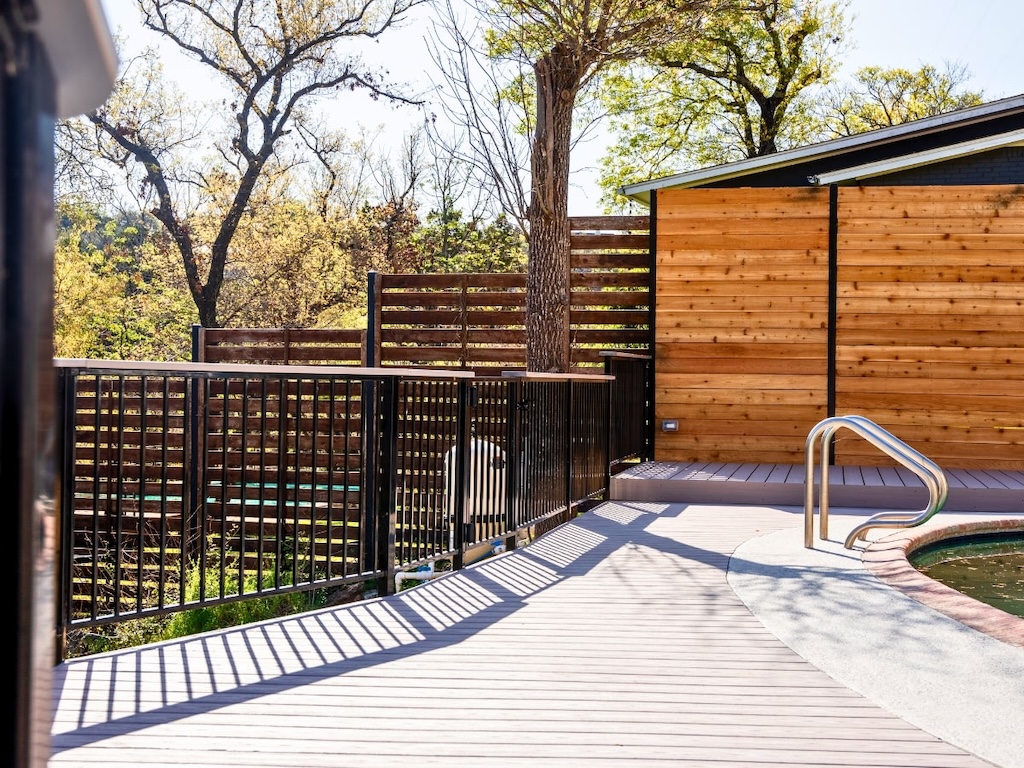
- Rail posts: Use tested guard post kits or concealed steel brackets; through-bolt when possible, and isolate from water traps with butyl membranes under bases.
For a step‑by‑step on safe ledger detailing and inspection expectations, see our guide on Austin deck ledger flashing & safety.
Flashing systems that don’t melt, bake, or peel
- Primary membranes: Favor butyl‑based self‑adhered flashings over asphalt in high heat; they stay flexible, stick to common substrates, and play well with composites. Use high‑temp ratings for south- and west-exposed areas.
- Metal flashings: Aluminum with proper isolation, painted steel, or stainless steel for harsh zones. Shape end dams at terminations; keep a positive drip edge. Avoid relying on caulk beads.
- Counter‑flashing & laps: Tuck under siding/WRB correctly; shingle‑lap all layers. At doors and ledger ends, include pre‑bent corners—no origami on site.
- Joist/beam tops: Butyl joist tape over crowns and splices prevents water from getting at fasteners and slows rot.
- Penetrations: Use boots/gaskets with mechanical clamping; back them with membrane patches and metal slip‑flashing where warranted.
Mixed‑material details: composites, hardwoods, and steel
- Composites/PVC: Hidden clips with stainless screws; expansion gaps per temp charts; avoid dark, glossy caps in full west sun unless shaded.
- Hardwoods (ipe, cumaru): Pre‑drill and countersink; use stainless screws; seal end‑grain; isolate fasteners from tannin bleed where possible.
- Steel/aluminum framing: Isolate dissimilar metals with nylon or EPDM shims; use compatible coatings; don’t trap water at bolted connections.
For whole‑project coordination—framing, hardware, membranes—our deck installation team in Austin can spec a complete package that passes inspection the first time.
Installation best practices (pilot, torque, spacing)
- Pilot & drive: Pre‑drill dense species; set clutch torque to avoid head spinouts. Use impact‑rated bits sized to the fastener.
- Edge distances: Respect hanger nail/bolt schedules and edge clearances; don’t crowd ends.
- Hidden fasteners: Keep clips square; re‑check gap consistency every 6–8 boards in heat.
- Sealing routine: Keep end‑grain sealer and butyl tape at the saw; seal cuts before mounting hardware.
- Documentation: Snap photos of flashing layers before concealment for your warranty and future inspections.
Inspection & maintenance cadence
- Spring: Tighten structural screws/bolts; check joist‑tape edges and re‑roll if needed.
- Summer: Watch for UV‑brittle sealants; replace with compatible high‑temp products.
- Fall: Clear debris from ledger tops, post bases, and stair stringer feet; touch up exposed fastener tips.
- After big storms: Check guard posts, base plates, and any penetrations for movement or leaks.
If your existing deck needs a health check before upgrades, book a deck inspection, and we’ll map fixes by priority.
Costs, timelines, and smart value‑engineering
- Design/spec: 2–5 days to finalize hardware families, flashing types, and details.
- Build: 2–4 weeks for typical projects; add time for custom metalwork or multi‑tier bracing.
- Cost drivers: Stainless vs HDG, specialty membranes, uplift hardware count, and labor for careful flashing.
Ways to save without regret: Use HDG for hidden-frame hardware and reserve stainless for exposed/critical connections; standardize on one fastener family; pre‑plan rail post locations to minimize extra blocking.
FAQs
Protect Your Deck From Wick-Rot With a Pro Treatment Plan
Keep your deck strong, safe, and built to last by addressing wick-rot before it spreads. Our Austin team specializes in identifying moisture-prone areas, repairing vulnerable connections, and applying targeted treatments that stop rot at the source. We assess every board, joist, and fastener to catch hidden risks early, then reinforce your deck with upgraded materials and smarter water-shedding details. From sealing end cuts to correcting grade and drainage issues, we make sure your deck stays dry, stable, and structurally sound through Texas weather. Whether you’re seeing early warning signs or just want long-term protection, we’ll deliver a clear plan that strengthens your deck for years to come. Call (512) 566-7519 or start your Austin deck estimate today to get your custom plan and pricing.