
TL;DR
A professional deck replacement in Austin runs through six phases, utilizing high-quality deck materials : (1) evaluation & scope, (2) design & permitting, (3) demo & structural upgrades, (4) framing with inspection hold points, (5) decking/rails/finishes, and (6) closeout, care, and warranty. Expect 2–4 weeks on site after permits and materials, with schedule shaped by rail/stair complexity, inspections, and weather. Great contractors keep you updated weekly, prep for inspections, and deliver a clean, safe jobsite. If you want a quick feel for the craftsmanship and communication standard to aim for, start with the Ace Deck Builders homepage.
Why Replacement Projects Feel Different from New Builds
Replacing a deck isn’t just “new boards on old bones.” Austin’s climate (heat, UV, fast storms) and shifting building codes mean today’s best practices are tighter than what many older decks were built to. A replacement often reveals realities you couldn’t see before demo—ledger damage, shallow footings, or undersized spans—so the contractor’s inspection readiness and detail literacy matter more here than in a simple new build.
A well-run deck replacement project keeps surprises from turning into schedule slips. You should see: clear drawings, a clean sequence of inspection hold points, and a punch list that closes smoothly.
Phase 1: Evaluation & Scope (Safety First)
Your replacement starts with a blunt assessment of structure:
- Ledger & flashing: Is the house connection intact, flashed correctly, and free of rot?
- Footings & posts: Are posts on proper bases (not buried), with footings set at the right depth/diameter for the load and soil?
- Framing: Do beams and joists meet modern span tables—especially if you’re moving to composite or PVC, which often needs tighter joist spacing?
- Railing & stairs: Are posts and connections able to meet current code for height, graspability, and racking resistance?
Deliverable: a photo-rich inspection summary and a recommended scope. This is where you decide between like-for-like layout or modest improvements (consolidating stairs, better shade strategy, stronger rail system).
Phase 2: Design, Proposal & Permitting
Great contractors translate the evaluation into a plan set and itemized proposal. Expect:
- Drawings: plan, elevation, footing layout, ledger detail, joist spacing, rail/stair details.
- Specs: framing species/size, board brand/series, fastener system, fascia/skirt approach, linear feet of rail, stair runs, and lighting.
- Allowances & exclusions: rock excavation, tree root work, hidden rot; exclusions like irrigation repair unless included.
- Schedule: a Gantt showing permit timing and inspection hold points.
Austin projects may require a building permit even for replacements, especially if elevation changes, spans are updated, or new footings are poured. A competent team will own submittals and outline revision loops if the reviewer asks for tweaks.
Want a quick refresher on the structural and scheduling cadence that pros follow? Mid-research, read the service overview for deck replacement in Austin to see how drawings, permits, and inspections are choreographed—and how that protects your timeline and budget.
Phase 3: Demolition & Site Protection
Demo is surgical, not reckless, especially when the right tools are used . Crews:
- Protect adjacent finishes, doors, siding, windows, and landscaping.
- Separate materials for safe haul-off; watch for nails/screws during tear-down.
- Expose the ledger area fully so moisture history is obvious.
- Keep walk paths clear and fence/gate access secured for pets.
This is also when hidden conditions—like rotted ledger sections or shallow footings—become real. The best contractors price contingency options in advance so you aren’t stuck approving blind change orders.
Phase 4: Structure Rebuild—Footings, Ledger, Framing (Inspection #1 & #2)
With the site open, structural upgrades happen in a tight sequence:
- Footings
- Holes are dug to size/depth, clean, and ready for the footing inspection.
- After approval, concrete is poured and cured as required.
- Posts set on proper bases, not buried.
- Ledger & Flashing
- Correct fastener pattern and ledger attachment; continuous flashing that protects the building envelope.
- Tapes/membranes at critical interfaces if specified.
- Framing
- Beams, joists, blocking installed to plan and manufacturer tables.
- Framing inspection is requested before any decking hides connections.
- Ventilation paths are preserved for low decks; skirting plans consider airflow.
If you want to compare rebuild cadence vs. a from-scratch project, skim the service explainer for deck installation in Austin—you’ll see the same inspection “gates,” just without demo and legacy fixes layered in.
Phase 5: Decking, Railings, Stairs & Finishes
Once framing passes, the “pretty” work starts—this is when the deck takes shape fast:
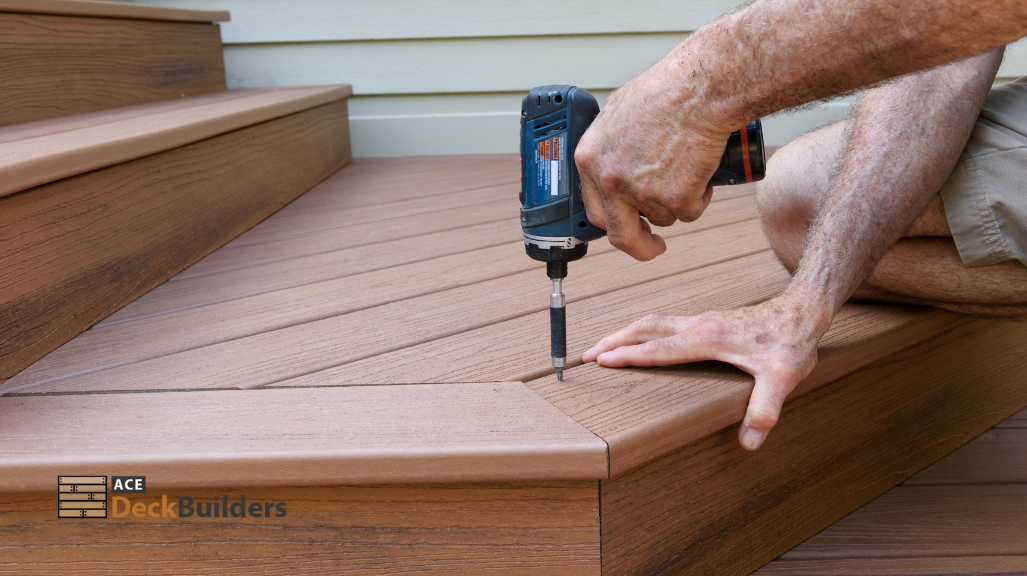
- Decking: Boards are installed per spec (gapping, orientation, hidden fasteners or plugs). Picture-frame borders and divider boards control movement and elevate the look.
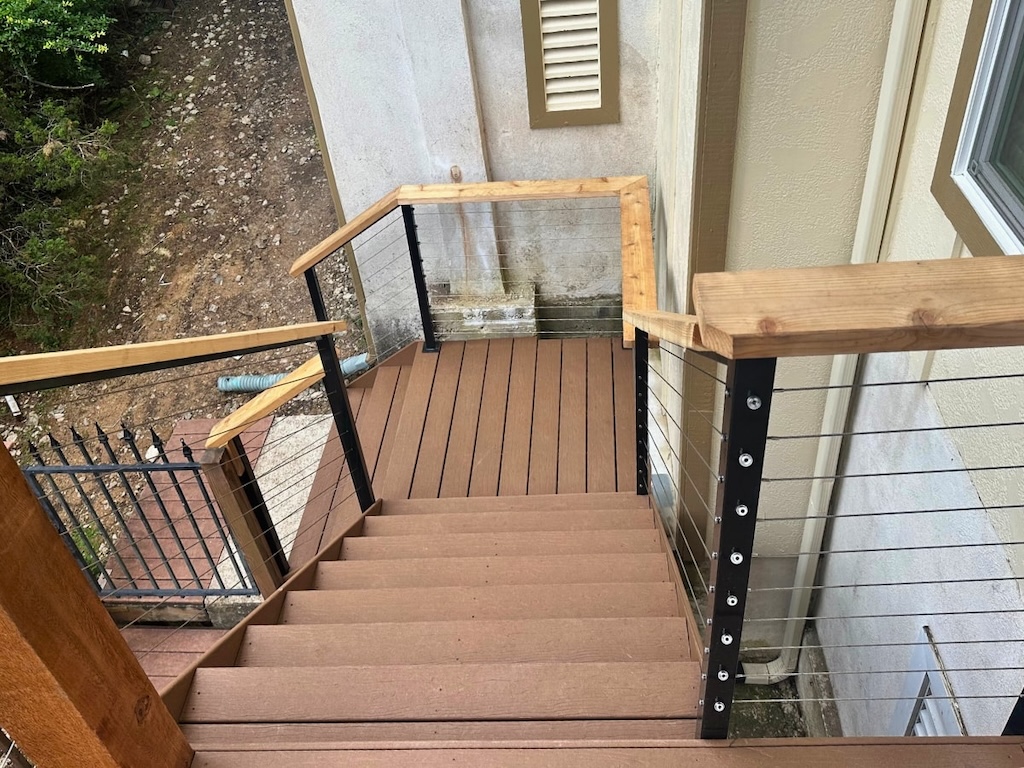
- Railings: Posts, top/bottom rails, infill (pickets, cable, glass), stair rails; connections must resist racking and meet height/baluster code.
- Stairs: Correct rise/run, consistent treads, graspable handrails, sturdy landings.
- Fascia & Skirting: Ventilated where needed; clean edges that protect and finish the build.
- Lighting (if included): Prewire should be complete; trim and drivers installed per manufacturer specs.
Pro tip: Rails and stairs are the biggest “feel” upgrade—and a major cost driver. If you’re budget-balancing, keep rail design smart and simple rather than downgrading the deck surface.
Not every structure needs a total rebuild. If your frame is fundamentally sound and issues are localized, see when a focused tune-up beats starting over in the service guide to deck repair in Austin.
And for a homeowner’s eye-level walkthrough of a build day by day, this related read—what to expect during a deck installation—helps you visualize the flow of inspections, decking, rails, and punch work.
Phase 6: Final Inspection, Punch List & Closeout
A polished outdoor living space project doesn’t “end”—it closes out. Expect:
- Final inspection: guard heights, stair geometry, lighting trim (if any), and overall safety checks.
- Punch list: blue-tape any small imperfections; agree on a completion timeline (often 1–3 days).
- Care packet: cleaning instructions; if wood, a stain/seal schedule and product suggestions; warranty contacts; and any as-builts that matter (joist spacing for future fasteners, lighting driver locations).
You should know who to contact for workmanship warranty questions and what response time to expect.
Timeline: A Realistic Week-by-Week

Once permits and materials are ready, here’s a typical arc for a 300–400 sq. ft. replacement with one stair run and a standard rail:
- Week 1: Demo, footing excavation, footing inspection, pour; ledger/flashings installed.
- Week 2: Beams/joists/blocking; framing inspection; start decking.
- Week 3: Finish decking; set rail posts, rails, infill; staircase; fascia/skirting.
- Week 4 (if needed): Lighting trim, final details; final inspection; punch list and closeout.
Complex rails (cable/glass), multi-stair layouts, or weather stretches can push this longer; simple layouts can compress it.
Budget Control: How to Avoid Change-Order Creep
- Standardize scope across bids: board series, rail system, stair count, fascia/skirt coverage.
- Plan allowances for rock excavation, root work, or hidden rot at ledger/joists, priced in your contract.
- Lock selections before procurement; mid-build swaps ripple across materials and labor.
- Require written change orders that pause work until you approve price and schedule impact.
- Schedule inspections mid-week when possible for faster re-queues if needed.
Homeowner Prep: What You Can Do to Keep Things Moving
- Access: Clear driveway/side yard; unlock gates; secure pets.
- Selections: Approve colors/rail kits early; choose in-stock components when timing matters.
- HOA paperwork: Submit full series names and a simple elevation sketch to avoid re-submittals.
- Weather-wise planning: If finishing wood, coordinate stain/seal windows in advance.
- Communication: Expect weekly updates; “no change” updates are good—they surface risks early.
FAQs
Get Your Austin Deck Replaced the Right Way
Want an itemized plan, deck design inspection-ready details, and a timeline you can trust from demo to final? Start with a free deck estimate in Austin and we’ll map your scope, schedule the hold points, and deliver a clean, safe, beautiful rebuild—without surprises.