
TL;DR
Great stain jobs fail in Austin when prep is rushed. Lock in longevity by working a clean → strip (if needed) → brighten → dry → sand → dust‑off → stain sequence. Target <15% moisture content before finishing, neutralize cleaners with a brightener, and sand only to open pores (60–80 grit on flats, 100+ on rails) without polishing the surface shut. Shade the work, watch temps (50–90°F), and touch every cut edge with end‑grain sealer. Follow this playbook and your color holds up through heat, UV, and storm bursts.
Why Austin decks need extra prep
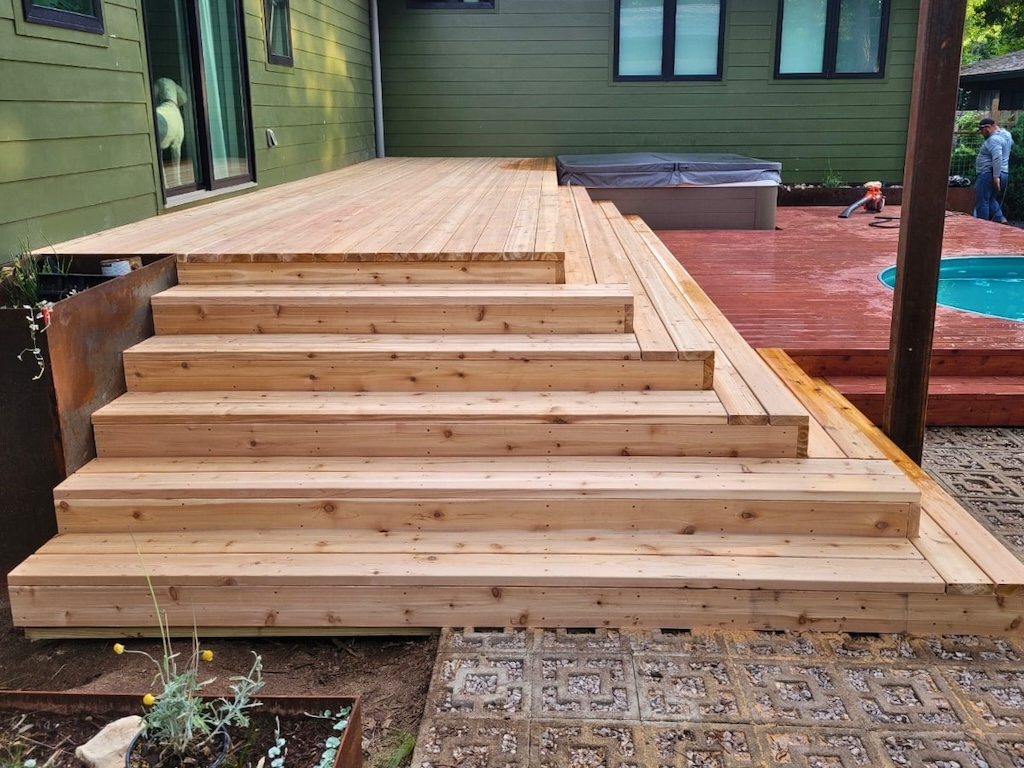
Shifting from triple‑digit sun to sudden storms is rough on finishes. UV breaks down lignin; heat drives oils to flash; and storm bursts push water into end‑grain. A repeatable prep sequence is the only way to give your stain a fighting chance. If you want a quick sanity check on your deck’s condition before you start, our Austin deck specialists can walk your surface and confirm whether you’re in a clean‑and‑coat or strip‑and‑start‑over scenario.
Step 1: Inspect and set assumptions (species, exposure, prior finish)
- Species: Cedar/treated pine can take semi‑transparent; hardwoods favor penetrating oils.
- Exposure: West‑facing boards weather faster; shaded corners mildew—plan cleaners accordingly.
- Prior finish: If water beads, you’ll need to strip or mechanically open the pores before the new stain.
Make a punch list of repairs (loose fasteners, lifted boards, split ends) before wet work begins.
Step 2: Deep clean vs full strip — how to choose
Deep clean (oxygenated cleaner): For intact semi‑transparent coats with light grime/algae. Agitate with a soft bristle; avoid gouging.
Full strip (finish remover): For failing solids, glossy build‑up, or uneven patches. Work in shade; protect plantings; follow with a thorough rinse.
Pro tip: Always finish Step 2 with a clean‑water rinse so Step 3’s brightener can do its job.
Step 3: Brighten to neutralize and reset color
Brighteners (oxalic/citric blends) neutralize pH, lift tannin streaks, and even out the tone after cleaning/stripping. Apply uniformly, keep the surface wet per label, then rinse thoroughly. You’ll see the wood “wake up” and accept stain more evenly.
Step 4: Dry to target moisture (<15%)
Use a pin meter on representative boards (shaded corner, center field, stair tread). Don’t stain wet wood. In Austin’s shoulder seasons, you can reach the target the next day; after deep soaks, it may take longer. Improve airflow with fans and morning sun; avoid leaf blowers that push dust back on the surface.
Step 5: Sand smart (open pores, don’t polish)
- Grits: 60–80 on flat walking surfaces to open pores; 80–100 on rails/caps; 120+ only on handrails you want silky (but expect more frequent maintenance).
- Technique: Random‑orbit with dust extraction; feather edges; don’t burnish. Keep passes even to avoid swirl marks.
- Edges: Break sharp edges lightly so films don’t lift; pre‑seal end‑grain after sanding.
If you’d rather skip the mess, our deck staining service in Austin handles strip/neutralize/sand cycles, setting you up for a longer‑lasting coat.
Step 6: Detail work — end‑grain, joints, hardware masking
- End‑grain sealer on every cut edge and bore.
- Joist tape on horizontal framing to stop water from sitting at fasteners.
- Mask hardware and house interfaces; keep stain off metals and flashing.
For long‑term moisture control that pairs with good finishing, see our quick guide to stopping wick‑rot on Austin decks.
Application day: temps, shade, and wet‑on‑wet timing
- Stain between 50–90°F; chase shade.
- Work wet‑on‑wet for penetrating oils; avoid over‑application (shiny/sticky = wiped too late).
- Keep a clean rag and mineral spirits handy for drips.
- Stir, don’t shake—avoid bubbles in film‑forming products.
Troubleshooting: fuzzing, swirl marks, and blotchy spots
- Fuzzing fibers: Over‑strong cleaner or aggressive pressure wash—light sand and re‑brighten.
- Swirls: Too‑fine grit or heavy hand—re‑sand with 80 grit and blend.
- Blotches: Uneven dryness or leftover cleaner—re‑brighten, re‑dry, and spot coat.
Care window after staining (first 72 hours)
- Keep furniture and planters off.
- Avoid heavy traffic and water pooling.
- If storms hit, tip boards to shed and towel standing water from flat rails.
FAQs
Get a Finish Built to Survive Austin Summers
Give your deck a finish that can take the heat—literally. Austin’s intense sun and long dry spells can break down standard stains fast, which is why we take a performance-first approach to every project. We start by testing stain options directly on your deck so you can see how each color absorbs and holds up in real light. Then we handle all the prep work: cleaning, sanding, repairing weak spots, and ensuring every surface is ready to bond correctly. Once the deck is prepped to spec, we apply a high-quality finish that resists fading, peeling, and heat damage. The result is a richer, longer-lasting color you can count on all season. Call (512) 566-7519 or start your Austin deck estimate to get your custom plan and pricing.