
TL;DR
Ledger attachments are excellent—when the wall can safely take them. In Austin, many problem walls (brick veneer, stone cladding, EIFS/stucco, foam sheathing, questionable framing, low door thresholds) make ledgers risky or code‑noncompliant. A free‑standing deck avoids water intrusion at the building envelope, reduces inspection friction, and often installs faster on remodels. The trade‑off is more footings and careful bracing. If your wall has veneer, hidden utilities, or tricky flashing geometry, go free‑standing, manage drainage, and keep the house dry for the long haul.
Ledger basics: what it does and why walls matter
A ledger transfers part of the deck load into the house framing—but only if it’s attached to a real structure and fully flashed. On homes with veneers or complex layers, fasteners may never reach solid rim joists, and flashing lines can fail. If you want a quick sanity check before you commit, our Austin deck builders can evaluate your walls, structure, and thresholds on-site.
Red‑flag walls in Austin (when a ledger is a bad idea)
Choose a free‑standing deck when you see any of the following:
- Brick veneer or stone cladding with air gaps—you can’t bolt through veneer and call it good. Flashing around cores is error‑prone.
- Stucco/EIFS, where penetrations are leak-prone,e and manufacturer details are strict.
- Foam‑sheathed or over‑insulated walls that hide structure and compress under loads.
- Low door thresholds that can’t accommodate proper step‑down + flashing without damming water.
- Unknown or compromised framing in older additions/remodels.
- Ledger zone blocked by utilities (electrical, gas, plumbing) or by band joist rot.
Still weighing a ledger? Skim our safety primer: deck ledger flashing & attachment checklist to understand what perfect looks like.
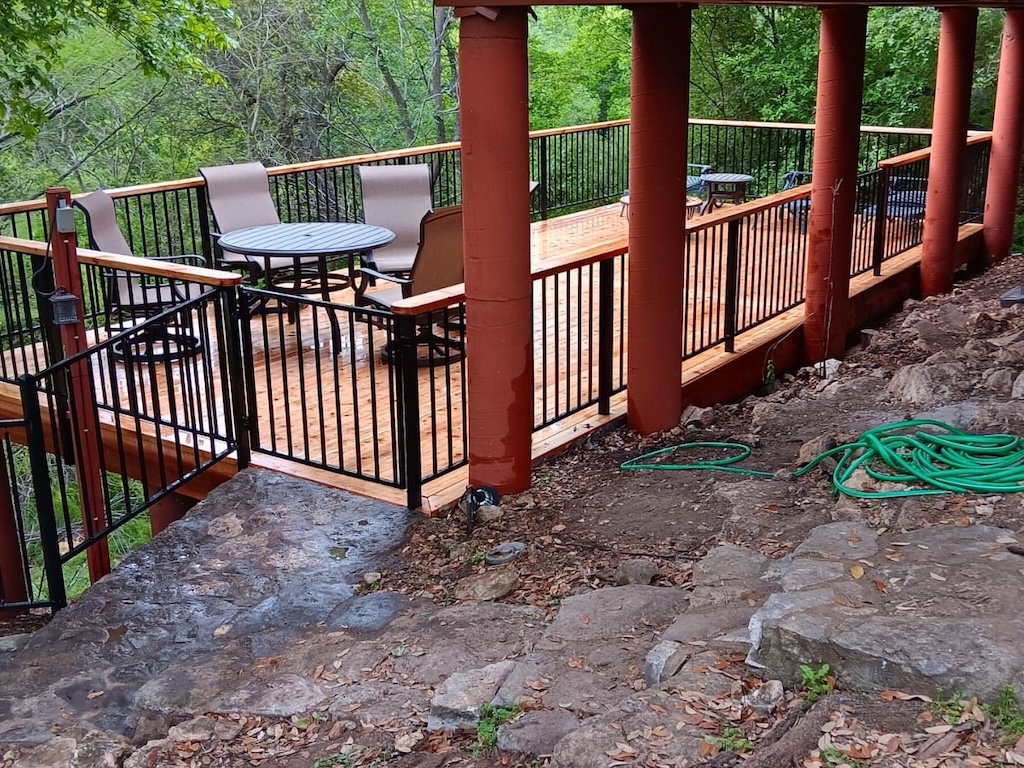
Free‑standing anatomy: beams, posts, and bracing that feel solid
A free‑standing deck stands off the house with its own primary beams and posts.
- Double beams at the house side replace the ledger; keep a drainable gap from the siding.
- Posts & bases: Use stand‑offs on concrete; size up posts on taller decks; add diagonal k‑bracing for anti‑racking.
- Joists & spans: Shorten spans for a stiffer feel (12–16 in. OC as material demands). Add blocking at guard posts.
- Guards & rails: Use tested post kits or concealed steel brackets. Isolate bases with butyl pads to avoid water traps.
If you want this engineered and permitted as a package, our deck installation team in Austin can design the frame, hardware, and connections to pass inspection.
Footings & foundations on tight or sloped lots
- Concrete piers handle most backyards; bell bases are used where soils warrant.
- Helical piles shine on slopes or in tight access areas; they are ideal for immediate loads with less excavation and root disturbance.
- Rock pins/micropiles where limestone is shallow—reliable bearing without oversize holes.
- Layout tips: Keep drainage paths clear; step tiers down the grade; place posts to avoid utilities.
For hillsides, see our approach to staging and footing choices in the tiered deck strategies section of our build services, or schedule a deck inspection for footing verification before you submit plans.
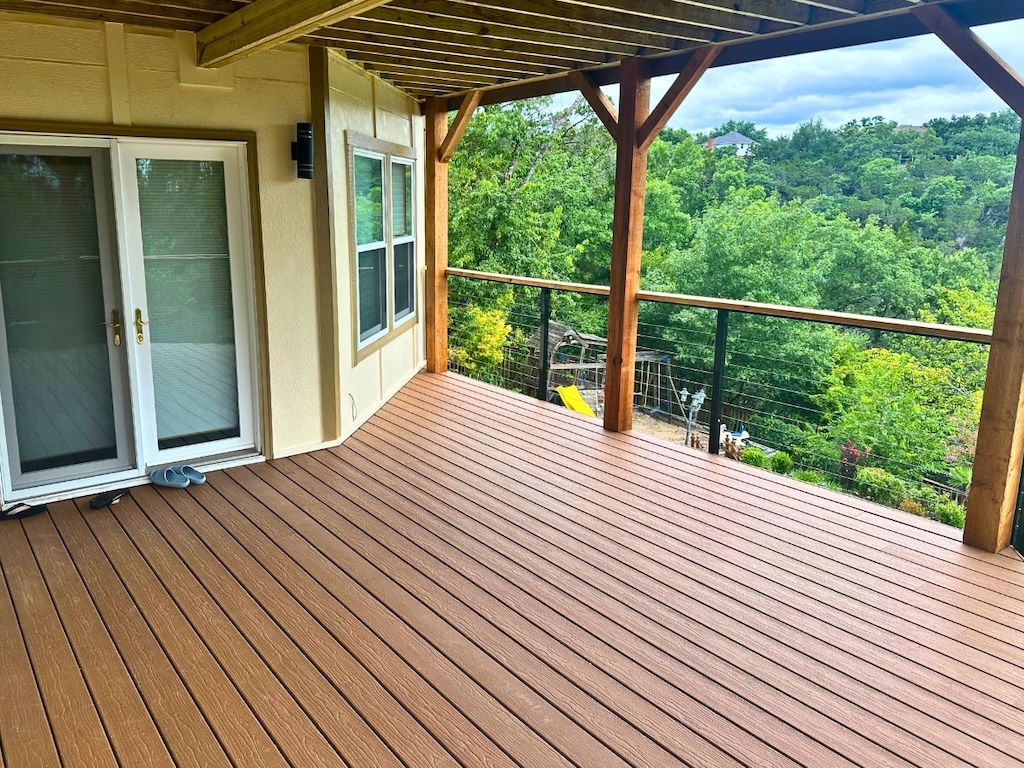
Waterproofing & thresholds: keeping the house dry
- Maintain a step‑down. Don’t raise deck height to the interior floor level; keep water from driving under doors.
- Leave an inspection gap between deck boards and siding; avoid trapping debris at the wall.
- Kick‑out flashing at roof/wall intersections above the deck; route downspouts away from landings.
- Under‑board details: Use joist tape on horizontal framing near the house side to slow capillary wicking.
For a deeper dive on moisture at the house connection, the ledger flashing & safety checklist shows the ideal, even when you choose free‑standing.
Costs, timelines, and inspection differences
- Costs: Expect more footings/posts vs ledgers, but savings from simpler wall details and fewer envelope risks.
- Timelines: Free‑standing can move faster on remodels (no wall demo/patch).
- Inspections: Focus shifts to footings, framing, and guard loads vs. ledger details; fewer envelope concerns for the building inspector.
Case cues: remodels, additions, and older homes
Go free‑standing when:
- You’re covering a settled patio or replacing a failed deck on brick/stucco.
- A room addition or bay window interrupts ledger continuity.
- You want an easy future re‑siding or window replacement without re‑flashing a deck.
If your current deck shows wall damage or ledger uncertainty, our deck repair team can stabilize things now and plan a free‑standing rebuild.
FAQs
Plan a Free-Standing Deck That Protects Your Home
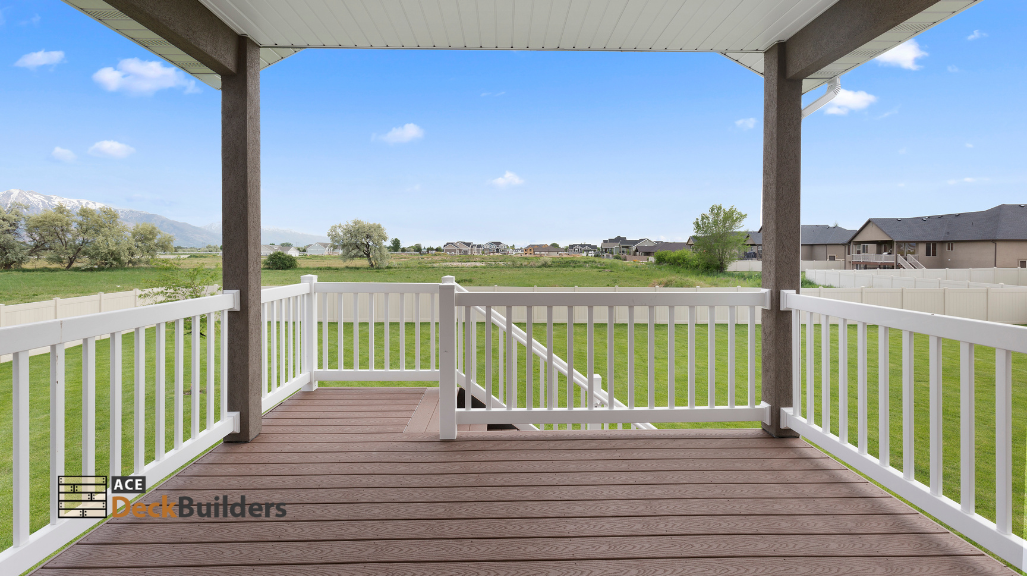
If attaching a ledger to your home isn’t an option—or simply isn’t worth the risk—we’ll help you design a free-standing deck that performs just as well without compromising your structure. We start with an on-site evaluation to confirm conditions, identify moisture risks, and verify whether a ledger attachment is a true no-go. When it is, we map a free-standing design that appropriately manages loads, maintains clean drainage, and keeps your home’s envelope dry and protected. The result is a durable, code-compliant deck that fits your space and avoids long-term water issues. Call (512) 566-7519 or request a free‑standing deck plan.