
A deck inspection report lists what was checked, what was found, and how urgent each finding is. Read the safety items first, then the repairs to plan, then the maintenance notes. The photos matter as much as the words.
Reports from different companies look different, but the good ones share a structure. This walk-through follows the order we use, so it’ll match ours closely and most others loosely. If you haven’t had an inspection yet, here’s what a professional deck inspection involves.
Start With the Summary
The first page should tell you three things in plain words: whether the deck is safe to use today, how many findings there are in each priority group, and whether the overall direction is maintenance, repair, or replacement. If you read nothing else that day, read this.
Be cautious with a report that has no summary, or one that’s all summary. A single paragraph saying the deck needs work isn’t a report. You can’t plan from it, and you can’t compare bids against it.
The Three Priority Groups
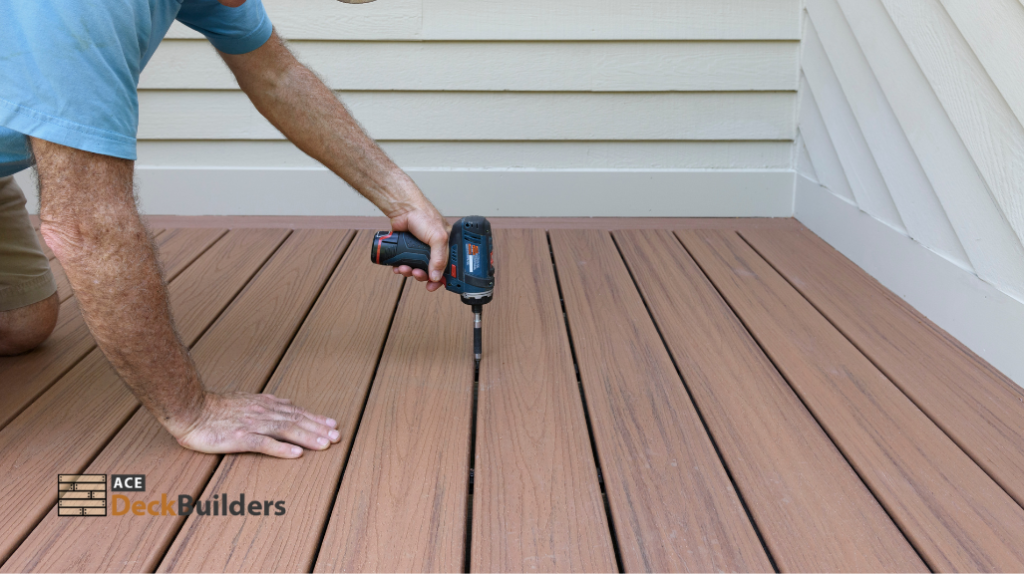
Most of the report is a list of findings, and each one carries a priority. Ours sorts them into three groups.
- Safety items. Things that should be fixed before the deck is used, or before it’s used by a group. Loose guard posts, a ledger pulling away from the house, a cracked beam, or a post that’s off its footing belong here. Our guide to the early warning signs on a deck shows what several of these look like.
- Repairs to plan. Problems that aren’t an immediate hazard but will get worse: early rot at a post base, corroded hangers, missing flashing, a stair landing that’s settled.
- Maintenance. Upkeep that keeps small things small: a finish that’s worn through, popped fasteners, debris packed between boards.
The count in each group tells you less than what’s in it. One safety item on the ledger outweighs ten maintenance notes.
Different companies label these groups differently. Some use colors, some use numbers, and some use words like urgent and monitor. The labels don’t matter. What matters is that every finding has one, and that the report explains what each label means.
How Findings Are Written
Each finding should have four parts: where it is, what was observed, why it matters, and what would fix it. A useful one reads something like this: northwest corner post, base soft to a probe on two faces, post carries the beam end, replace the post and set it on a standoff base. A finding that only says there’s some rot doesn’t give you anything to act on.
Location matters more than people expect. A report that names the spot lets you walk out and see it yourself, and lets any contractor price the same repair. If a term is unfamiliar, the photo usually explains it.
Reading the Photos
Every finding should have at least one photo, and the photo should show context: a wide shot to place it and a close shot to show the problem. Look for a pointer, a label, or a caption that says what you’re looking at.
Photos also protect you. They’re a dated record of the deck’s condition, which helps with a sale, an insurance conversation, or a warranty question later. Keep the file somewhere you’ll find it.
The Parts of the Deck, in Order
A thorough report moves through the structure from the ground up, so you can check that nothing was skipped.
- Footings and posts. Support under each post, lean, and decay at the base.
- Beams and joists. Cracks, sag, rot, and the condition of metal hangers.
- Ledger and flashing. How the deck is fastened to the house, and whether water is kept out of that joint. See the ledger flashing guide for Austin decks.
- Guards and stairs. Post strength, guard height, baluster spacing, stringers, and landings. The numbers behind them are in deck railing and stair rules.
- Decking and finish. Soft, split, or cupped boards, and whether the finish still sheds water.
If a section is missing, ask why. Sometimes the answer is that the area couldn’t be reached, and that should be written down too. Our six-zone deck safety walkthrough covers the same parts from a homeowner’s side.
Words You’ll See
Inspection reports use builders’ terms. These five come up often.
- Ledger. The board that fastens the deck to the house.
- Joist hanger. A metal bracket that holds the end of a joist.
- Flashing. Metal or membrane that keeps water out of a joint.
- Stringer. The angled board that carries the stair treads.
- Guard. The railing along the edge of a raised deck.
What the Report Won’t Tell You
An inspection is a look at what can be seen and reached. It can’t see inside a post that’s sound on the surface, or behind siding where a ledger is fastened. A careful report lists those limits, so you know what the findings cover.
And it’s a snapshot. It describes the deck on the day of the visit. Wood keeps weathering and fasteners keep working loose, so a report from three years ago is a starting point, not a current answer.
It also isn’t an engineer’s letter or a code certificate. It describes condition and recommends repairs. If a lender, an HOA, or a city office needs a stamped document, that’s a different service. Our post on who should inspect a deck covers when an engineer or a home inspector is the right call.
From Report to Decision
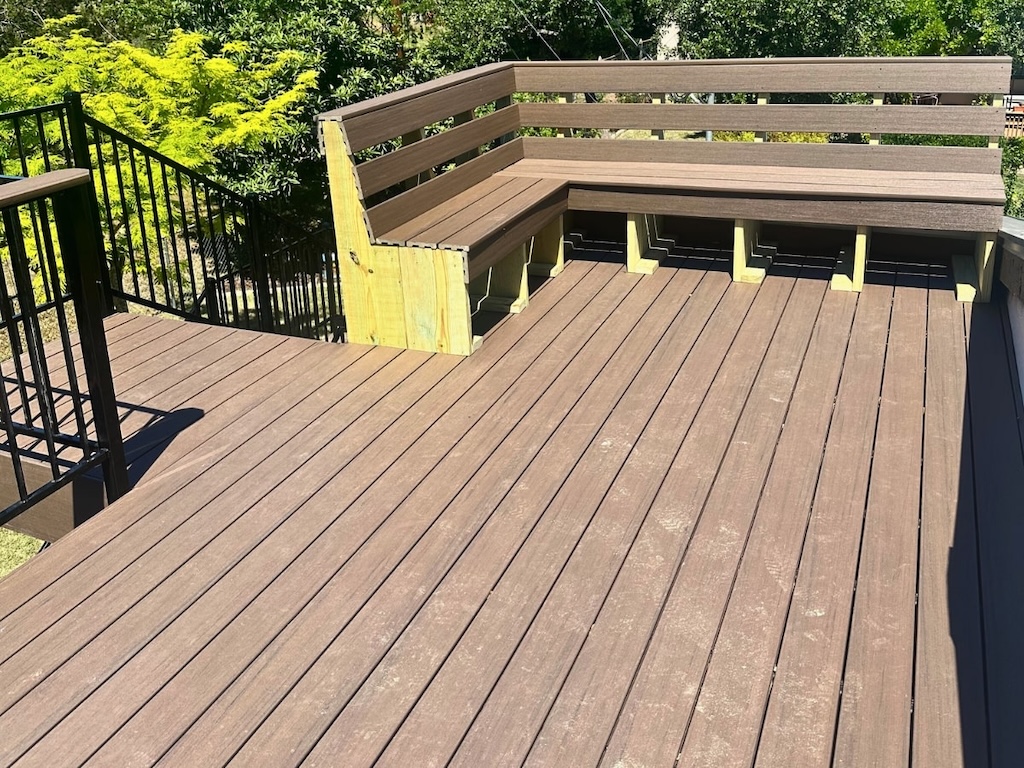
Once you’ve read it, the report points one of three ways.
- Mostly maintenance. The frame is sound. Clean, tighten, and refinish. That’s staining and sealing work.
- Repairs on a sound frame. Specific parts have failed and the rest is fine. That’s targeted deck repair, priced from the findings.
- Problems throughout. Posts, beams, and ledger are all compromised. Patching won’t hold, and replacing the deck is the honest recommendation.
The middle case raises the most questions. Our article on where repair stops making sense explains how to weigh it.
Whichever way it points, the recommended fixes should trace back to specific findings. If a proposal includes work that doesn’t match anything in the report, ask where it came from.
Using the Report With Other People
A good report travels. Give it to each contractor you ask for a bid, so they all price the same scope. That’s how a line-by-line deck estimate gets written. Share it with your agent if you’re buying or selling, and keep it with your house records for the next owner.
If two contractors read the same report and come back with very different scopes, that’s useful too. Ask each one which findings they priced and which they left out.
If you’re buying, the buyer-side deck inspection explains how the timing works. If you’re selling, see a deck inspection before listing.
If Something Isn’t Clear
Ask. A report is the start of a conversation, not the end of one. If the report is ours, call us and we’ll go through it with you. We’d rather answer ten questions than have you guess at one.
We schedule inspections the same week you call, the visit takes 60 to 90 minutes, and the written report follows within 48 hours. To see how the fee works, read what sets a deck inspection fee, or call (512) 566-7519.